Wednesday, July 25, 2012

The importance of a topcoat

Have you ever wanted your nails to last OVER a week and half? Its possible with a simple trick. If you don't have time to sit down and paint a completely new manicure, just paint over your old manicure with a quick-dry topcoat every 4-5 days and your nails will look nice and new for days to come.

Here's my example: I have had this manicure for a grand total of 12 days. I used a Sally Hansen quick dry topcoat but unfortunately it has been discontinued. I plan on looking into the more high-end top coats in the near future, so I'll let you know if those are a worthy investment.

Its not perfect... but it will definitely lengthen your manicures significantly, until you have time to pain them again!

xoxo, Alexis

PS: Please check out the "Nails from my followers" section.

Wednesday, July 18, 2012

Minnie Mouse Nails!

As a little girl, Minnie Mouse was always my favorite Disney character, so in honor of Disneyland's 57th birthday, I decided to do a manicure inspired by my favorite Disney character. I really love this look, it has to be one of my favorite manicures (and the most simple to do!) by far. It may be simple and easy to do but it makes your nails really stand out. I used a new polish, Sephora's Fiercely Fabulous and the polish is heavenly! It is opaque with just one coat and is extremely shiny even without a top coat. In fact, the first picture is without a top coat! I hope you enjoy this look! If it weren't $9.50 per bottle I'd use this brand more often! It is the best I've ever used!

Minnie Mouse nails, ring and ticket! It was such a happy moment when I realized it all matched! 


xoxo, Alexis

Nail Dotters -- A Worthy Investment

I finally caved in a bought a set of nail dotters from amazon and I have to admit, I love them! They are less than $5 and are so simple to use! If you are an avid nail painter I highly suggest you buy them. They are as simple to use at the pen trick I taught earlier, but allow you to make more designs with different sized dots. I decided to get creative with them and create a layered look with polka dots. Let me know what you think!


xoxo, Alexis

Saturday, July 14, 2012

NOTD: Wet N Wild Sunny Side Up

Hey Everyone!

This color is a real change to what I'm used to, I've never in my life painted my nails orange! I really like this color though, it isn't too bright of an orange and it is opaque after 2 thin coats. This is a good summer color! I would definitely recommend giving this a try.I
This can be found in most drug stores, $.99. I also tried a new base coat with this manicure. I haven't decided how I feel about it yet, but I will let you all know soon!

Xoxo, Alexis

Friday, July 13, 2012

Gradient Nails!

This is such a fun idea to work with! It has to be one of the easiest as well, all you need is a foundation sponge and you're good to go! I used a baby blue, a light purple (which did not show up well), and a deep pink. I plan on experimenting with more colors in the future!

Xoxo, Alexis

Thursday, July 12, 2012

Nail Polish Shopping Spree!

I went to CVS the other day and was surprised to find out that Wet N Wild's already $.99 nail polish was on sale for $.69! Go check out your local CVS... they might have the same deal! Let me know anyone would like the names of the colors I bought. *swatch reviews coming soon!*

Monday, July 9, 2012

Wet N Wild Clear Nail Protector Review

I've been using this as a top coat for a couple months, and I've found it to be a great product that gets the job done for a good price ($.99 at Drugstores). Paired with a proper manicure (base coat and 2 layers of polish), the top coat gives your manicure a professional look. I've noticed it takes about 30-45 minutes to dry completely which may seem like a lot but it definitely lasts! Most of my manicures last at least 5-6 days without peeling, shrinkage or chipping.

What is your favorite top coat? (Please comment below)

xoxo, Alexis

Friday, July 6, 2012

Leopard print nails

I'd have to say this is one of my favorite manicures! It is surprisingly much more simple than it looks and it actually mess proof. If you are new to nail art, I would suggest trying this design to boost your confidence!


So here is how to do it......

First of all, I'd like to point out that I don't like the colors that I used in this tutorial. I was hoping dark pink and white would look a lot different than how it ended up but ANYWAYS, you'll get the gist of the design!
First start out by painting your base coat and two coats of your desired color. After this color choice, I suggest using a lighter and darker version of the same or a similar color. For example baby blue with dark blue spots or gold with bronze spots. Once your nails are completely dry paint irregular shaped spots and blobs. I suggest doing about three or four per nail unless you use a lot of tiny spots. When you paint this, make sure there is as little polish on the brush as possible so that it dries faster.

Next, using a pen (as mentioned in my first post), dip the tip in black nail polish and outline your blobs and spots with "u" and "c" shapes. Add polka dots in slightly large empty spaces. Be sure to use a top coat and you're done!

Practice makes perfect!
I suggest practicing your nail designs on ziplock bags or sandwich bags so that you get comfortable with your design before they go on your nails. Make sure to practice using BOTH hands to prevent messes on your nails! This tip will save you a lot of time, I promise! Here's a picture of my first attempts with leopard prints on a plastic sandwich bag!


Thursday, July 5, 2012

Polka Dot French Manicure

Polka dots are honestly the easiest addition to a manicure and in this case  I think it really gives a classic manicure a modern twist.


(Thanks, Mom for letting me do your nails! )

(and these are mine!)

So here's how to do it! Scotch tape, if used right, can be the perfect tool for a french manicure. The first trick is to make sure than your nail polish is 100% DRY before putting scotch tape on your nails. The second trick is to make sure that you don't take the tape straight from the dispenser to your nails. Put the tape on the palm of your hand and slowly take it off. Do this at least two times to ensure that no polish gets ripped off. Use a piece of tape long enough to  cover the entire nail, but short enough to not wrap around your finger completely
(I know its hard to see but you get the idea!)

Wrap the scotch tape around each nail. I suggest doing them all at once because cutting tape and putting it on nails can ruin the nails you've already painted! 

(just noticed my nails from right to left really show off the steps. my middle finger is taped up if you can't tell)

Paint your nails over the tape. Make sure that there are no bumps. Wait about 30 seconds and then carefully remove the tape.


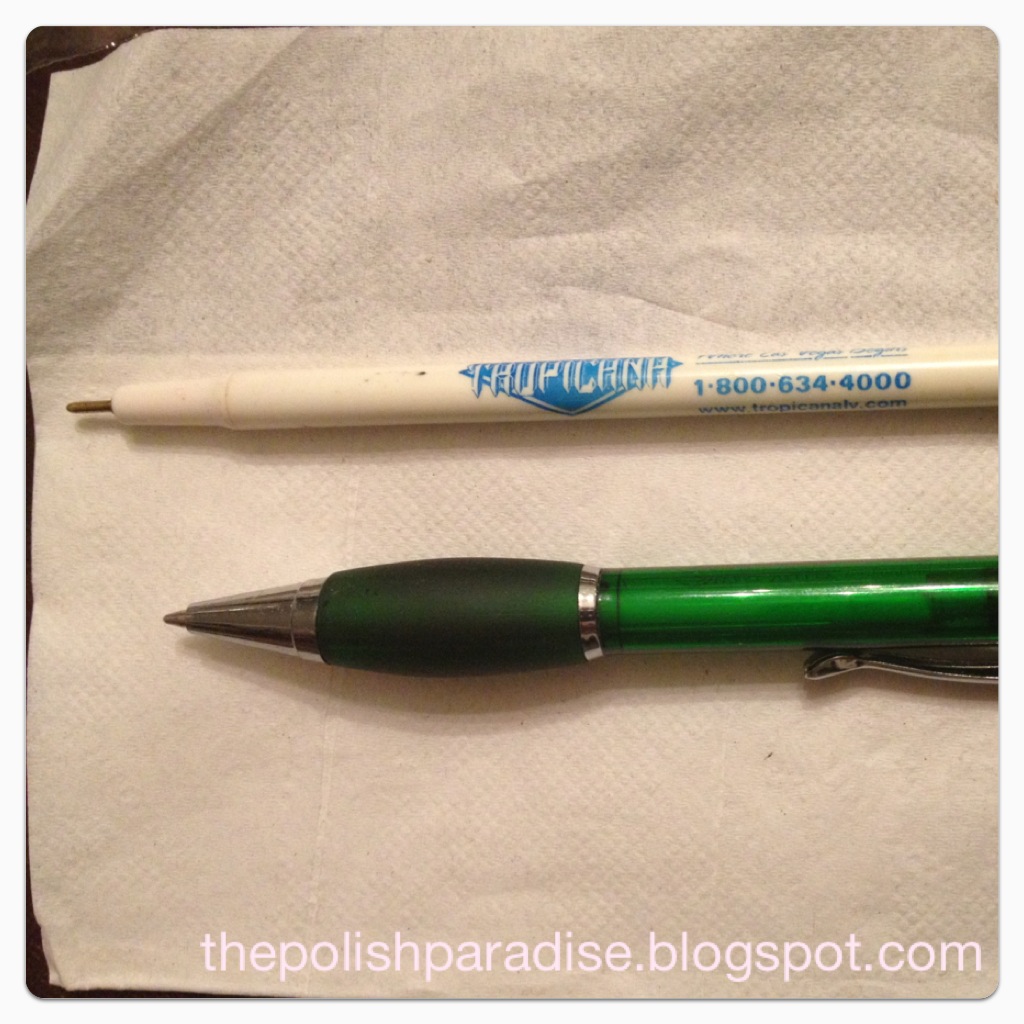
Once the tape is removed, you will have perfect tips every time! Who would have thought that scotch tape would be so useful? If you wish to continue with the polka dots simply add them around the end of the tips with a nail dotter or a pen (as mentioned in this post). I suggest using no more than three colors so that the tips can still stand out.


Thank you for reading! Please comment! 

xoxo, Alexis


Tuesday, July 3, 2012

Flower nails -- perfect for summer!

I love this manicure! It's very summery and cute. I did this using a pen and making flowers with 5 polka dots and a silver center. I loved how the silver looked on the polish so I added small leaves as well.

Enjoy!

Xoxo, Alexis

Monday, July 2, 2012

DIY nail dotter with a regular pen

Hello Everyone!

For my first post, I'd like to share with all of you my nail explorations with a simple household pen. I've seen other websites suggest using a bobby pin or other random objects but I've found pens that have run out of ink to be the best!

 My favorite is the skinny tip pen (top one) but regular pens work just as well!
Polka dots come out exactly the same! Just make sure to dip the tip of the pen into the nail polish every time you make a dot so that they are consistent!

And with this trick you can make designs like the following.....
This design is super simple! With a shiny top coat, I had many people asking me where I got my nails done! Using a pen, do a pattern of 2 dots and then 1 dot until you reach the top of the nail. Since the thumb is a wider do the same pattern but with 3 and 2 dots.


I love this manicure because it reminds me of confetti! I chose six colors and layered them on top of each other starting with the darkest color first. I recommend using white for one of the six colors because it helps your nails stand out. Use it as your last color so that it stands alone! This is also mess-proof! After I did this manicure I went to the mall and my dots smudged, I simply put black polka dots on top of the smudges and it was good as new!

Thank you for reading! Please leave a comment! This is my first blog so any feedback is appreciated!

xoxo, Alexis